[알림] 데이터베이스 알림
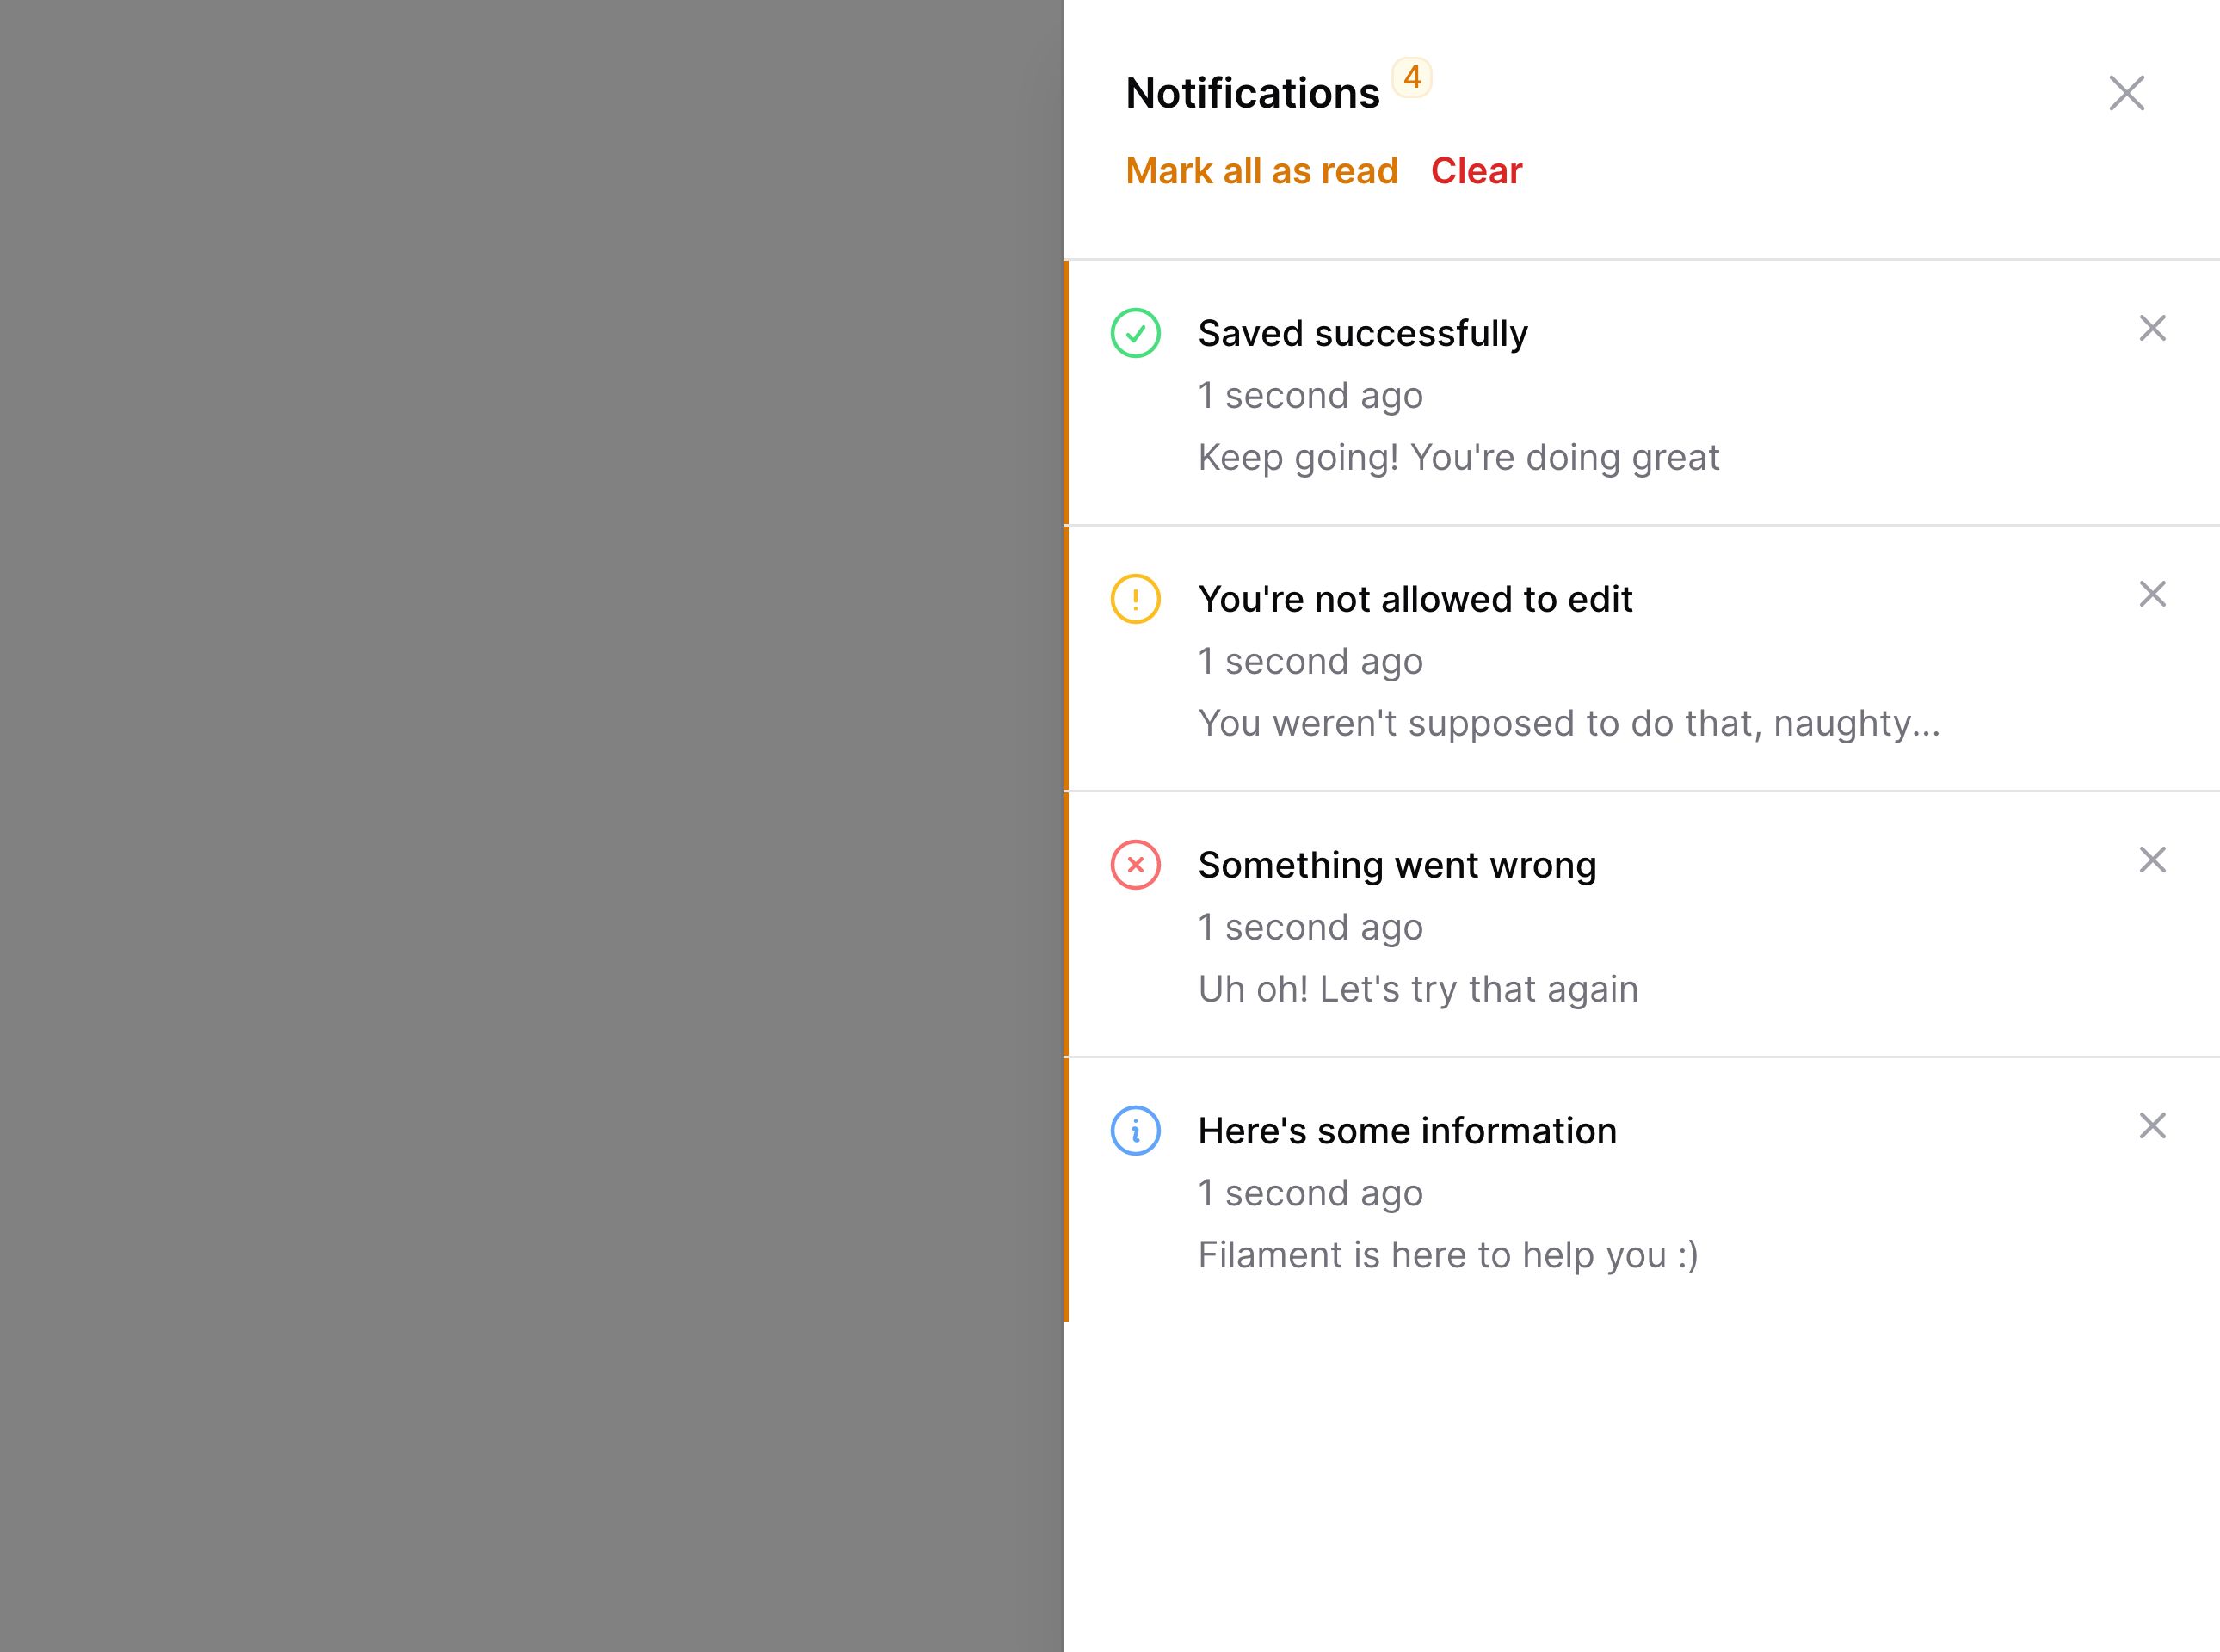
알림 데이터베이스 테이블 설정하기
시작하기 전에, Laravel 알림 테이블이 데이터베이스에 추가되어 있는지 확인하세요:
# Laravel 11 이상
php artisan make:notifications-table

# Laravel 10
php artisan notifications:table
PostgreSQL을 사용하는 경우, 마이그레이션의
data컬럼이json()을 사용하고 있는지 확인하세요:$table->json('data').
User모델에 UUID를 사용하는 경우,notifiable컬럼이uuidMorphs()를 사용하고 있는지 확인하세요:$table->uuidMorphs('notifiable').
데이터베이스 알림 모달 렌더링하기
패널에 데이터베이스 알림을 추가하려면, 이 가이드의 해당 부분을 따라주세요.
Panel Builder 외부에서 데이터베이스 알림 모달을 렌더링하려면, Blade 레이아웃에 새로운 Livewire 컴포넌트를 추가해야 합니다:
@livewire('database-notifications')모달을 열기 위해서는, 뷰에 "트리거" 버튼이 있어야 합니다. 예를 들어 /resources/views/filament/notifications/database-notifications-trigger.blade.php에 새로운 트리거 버튼 컴포넌트를 만드세요:
<button type="button">
    알림 ({{ $unreadNotificationsCount }}개 읽지 않음)
</button>$unreadNotificationsCount는 이 뷰에 자동으로 전달되는 변수로, 사용자의 읽지 않은 알림 개수를 실시간으로 제공합니다.
서비스 프로바이더에서 이 새로운 트리거 뷰를 지정하세요:
use Filament\Notifications\Livewire\DatabaseNotifications;

DatabaseNotifications::trigger('filament.notifications.database-notifications-trigger');
이제, 뷰에 렌더링된 트리거 버튼을 클릭하세요. 클릭 시 데이터베이스 알림이 포함된 모달이 나타나야 합니다!
패널에 데이터베이스 알림 모달 추가하기
패널의 설정에서 데이터베이스 알림을 활성화할 수 있습니다:
use Filament\Panel;

public function panel(Panel $panel): Panel
{
    return $panel
        // ...
        ->databaseNotifications();
}
자세한 내용은 Panel Builder 문서를 참고하세요.
데이터베이스 알림 보내기
데이터베이스 알림을 보내는 방법에는 여러 가지가 있으며, 상황에 맞게 선택할 수 있습니다.
플루언트 API를 사용할 수 있습니다:
use Filament\Notifications\Notification;

$recipient = auth()->user();

Notification::make()
    ->title('성공적으로 저장됨')
    ->sendToDatabase($recipient);
또는, notify() 메서드를 사용할 수도 있습니다:
use Filament\Notifications\Notification;

$recipient = auth()->user();

$recipient->notify(
    Notification::make()
        ->title('성공적으로 저장됨')
        ->toDatabase(),
);
Laravel은 큐를 사용하여 데이터베이스 알림을 전송합니다. 알림을 받으려면 큐가 실행 중인지 확인하세요.
또는, 전통적인 Laravel 알림 클래스를 사용하여 toDatabase() 메서드에서 알림을 반환할 수도 있습니다:
use App\Models\User;
use Filament\Notifications\Notification;

public function toDatabase(User $notifiable): array
{
    return Notification::make()
        ->title('성공적으로 저장됨')
        ->getDatabaseMessage();
}
데이터베이스 알림 받기
별도의 설정 없이, 새로운 데이터베이스 알림은 페이지가 처음 로드될 때만 수신됩니다.
새로운 데이터베이스 알림을 폴링하여 받기
폴링은 주기적으로 서버에 요청을 보내 새로운 알림이 있는지 확인하는 방법입니다. 설정이 간단하다는 장점이 있지만, 서버 부하가 증가하므로 확장성 측면에서는 적합하지 않을 수 있습니다.
기본적으로 Livewire는 30초마다 새로운 알림을 폴링합니다:
use Filament\Notifications\Livewire\DatabaseNotifications;

DatabaseNotifications::pollingInterval('30s');
원한다면 폴링을 완전히 비활성화할 수도 있습니다:
use Filament\Notifications\Livewire\DatabaseNotifications;

DatabaseNotifications::pollingInterval(null);
웹소켓을 사용하여 Echo로 새로운 데이터베이스 알림 받기
또는, 이 패키지는 Laravel Echo와의 네이티브 통합을 제공합니다. Echo가 설치되어 있고, 서버 측 웹소켓 통합(예: Pusher)도 설치되어 있는지 확인하세요.
웹소켓이 설정되면, 알림을 보낼 때 isEventDispatched 파라미터를 true로 설정하여 DatabaseNotificationsSent 이벤트를 자동으로 디스패치할 수 있습니다. 이렇게 하면 사용자를 위한 새로운 알림을 즉시 가져오게 됩니다:
use Filament\Notifications\Notification;

$recipient = auth()->user();

Notification::make()
    ->title('성공적으로 저장됨')
    ->sendToDatabase($recipient, isEventDispatched: true);
데이터베이스 알림을 읽음으로 표시하기
모달 상단에는 모든 알림을 한 번에 읽음으로 표시하는 버튼이 있습니다. 또한, 알림에 액션을 추가하여 개별 알림을 읽음으로 표시할 수도 있습니다. 이를 위해 액션에서 markAsRead() 메서드를 사용하세요:
use Filament\Notifications\Actions\Action;
use Filament\Notifications\Notification;

Notification::make()
    ->title('성공적으로 저장됨')
    ->success()
    ->body('게시글의 변경사항이 저장되었습니다.')
    ->actions([
        Action::make('view')
            ->button()
            ->markAsRead(),
    ])
    ->send();
또는, markAsUnread() 메서드를 사용하여 알림을 읽지 않음으로 표시할 수도 있습니다:
use Filament\Notifications\Actions\Action;
use Filament\Notifications\Notification;

Notification::make()
    ->title('성공적으로 저장됨')
    ->success()
    ->body('게시글의 변경사항이 저장되었습니다.')
    ->actions([
        Action::make('markAsUnread')
            ->button()
            ->markAsUnread(),
    ])
    ->send();
데이터베이스 알림 모달 열기
위에서 설명한 트리거 버튼을 렌더링하는 대신, 언제든지 open-modal 브라우저 이벤트를 디스패치하여 데이터베이스 알림 모달을 열 수 있습니다:
<button
    x-data="{}"
    x-on:click="$dispatch('open-modal', { id: 'database-notifications' })"
    type="button"
>
    알림
</button>